Hi everyone!
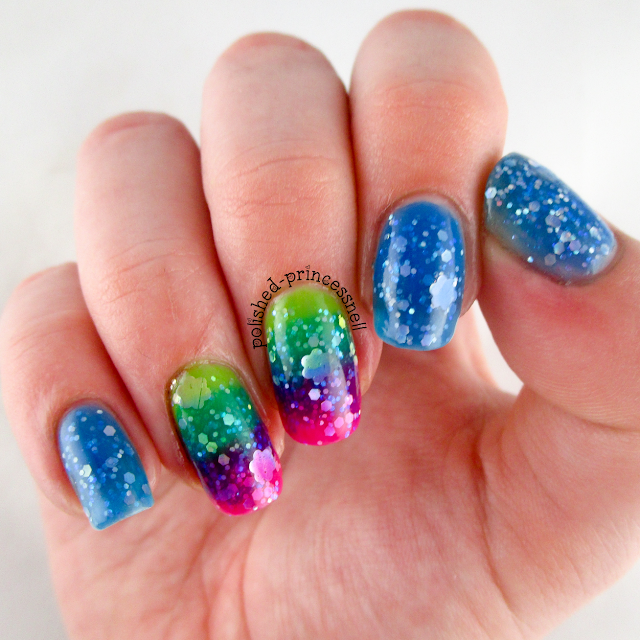
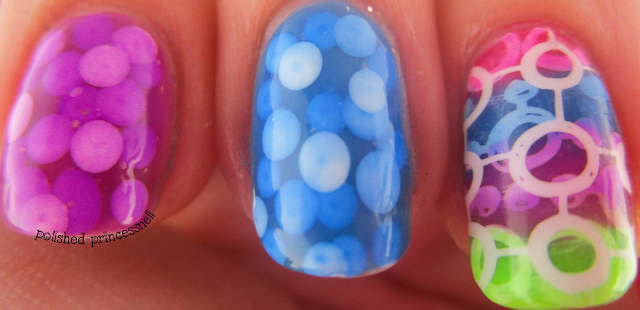
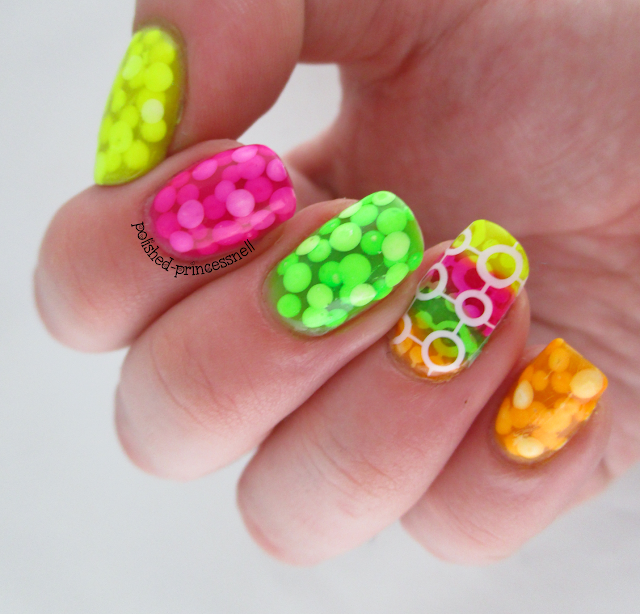
Today's mani is a super bright, super squishy neon jelly glitter sandwich! Woah!
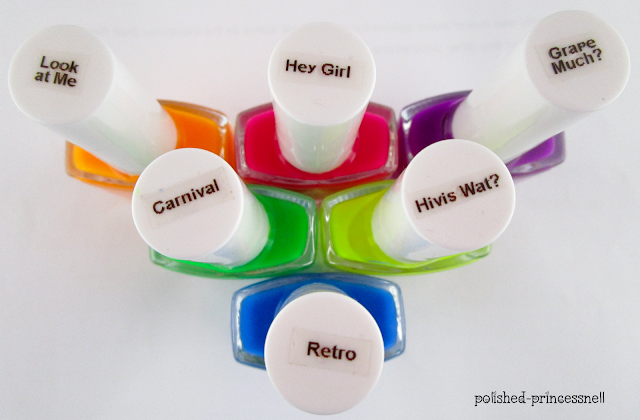
I created this look by layering glitter polish between thin coats of jelly polish, which does take forever as you have to wait for each layer to dry before adding the next, but LOOK AT THE PRETTY!!! For this design I used Kandy Colors 'Retro' (blue), 'Hey Girl' (pink) and 'Carnival' (green) along with Nicole by OPI 'Party Bus' glitter. I picked up 'Party Bus' at TK Maxx for £3.99 and I'm so glad I didn't pay full price for it. Even though I absolutely love the polish, I unfortunately ended up spending a lot of time fishing out the bigger pieces of glitter which is so frustrating! Less clear base and more glitter please, Nicole by OPI!
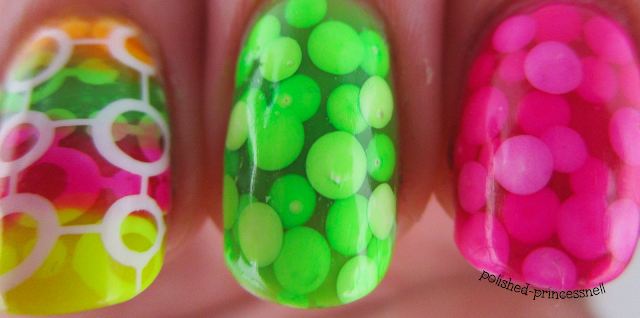
No glitter jelly sandwich is complete without snapping a few close-ups, so here they are!:
I love jelly polishes and these ones from Kandy Colors really do have the 'wow factor'. But I'm always looking for more to add to my collection! What's your favourite jelly polish?
Thanks for reading!
Helen x
Showing posts with label jelly nails. Show all posts
Showing posts with label jelly nails. Show all posts
Monday, 31 August 2015
Glitter Jelly Sandwich Nail Art!
Labels:
awesome,
crafty fingers,
easy nail art,
glitter,
gradient,
gradient nails,
jelly nails,
jelly polish,
nail art,
nail designs,
nail polish
Location:
Bristol, City of Bristol, UK
Sunday, 5 July 2015
NEON WEEK: Dry Brush Technique
Hello!
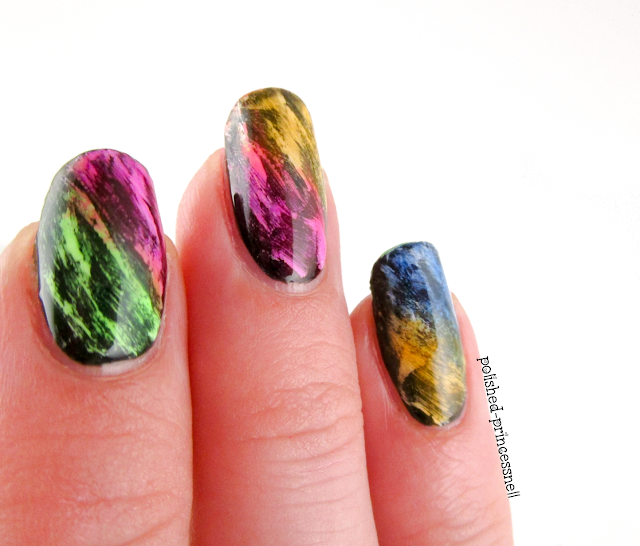
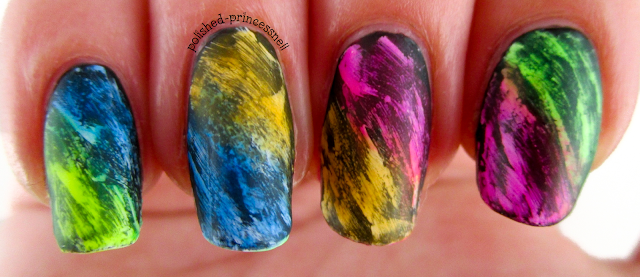
Today I have this week's entry into the Weekly Nail Art Challenge to show you, and of course I'm sticking with the neon theme for it. The prompt for the challenge this week is 'dry brush + gradient'. I have only tried dry bushing once before and it made my nails look like I'd dragged them through mud so I wasn't hopeful for this challenge, but I'm pleased with the results of this one!
I started by painting my nails black using Rimmel 'Black Out', then once dry I dragged Color Club 'French Tip' white polish randomly over the black. The trick to this technique is to get rid of as much polish as you can from the brush before applying it to the nail. I found brushing it onto a piece of paper to remove the excess worked well. Finally, I took my favourite neon jelly polishes - the 'Northern Lights' collection from Kandy Colors and created a gradient over the nail by blending two colours together per nail.
I tried this out using Barry M Matte Topcoat too, but don't like the effect as much. Glossy is nearly always better in my opinion!
What do you guys think? Let me know in the comments!
Thanks for reading!
Helen x
As always, head over to Instagram to see all of the entries into the Weekly Nail Art Challenge - just search #wnac2015 :)
Today I have this week's entry into the Weekly Nail Art Challenge to show you, and of course I'm sticking with the neon theme for it. The prompt for the challenge this week is 'dry brush + gradient'. I have only tried dry bushing once before and it made my nails look like I'd dragged them through mud so I wasn't hopeful for this challenge, but I'm pleased with the results of this one!
 |
| Dry brush using neon jellies |
 |
 |
| How beautiful are these jellies?! |
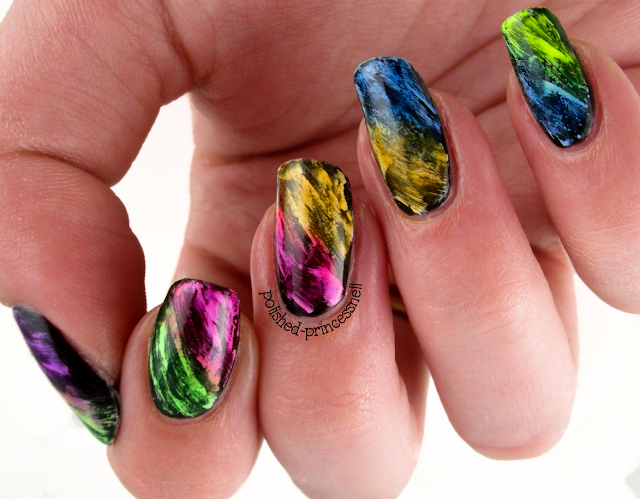 |
| The finished look |
 |
| Dry brush using neon jellies - matte |
 |
| The colours appear slightly brighter on the nail with a matte topcoat added |
Thanks for reading!
Helen x
As always, head over to Instagram to see all of the entries into the Weekly Nail Art Challenge - just search #wnac2015 :)
Labels:
dry brush nails,
easy nail art,
gradient,
Instagram,
jelly nails,
jelly polish,
lacquer,
mani,
manicure,
nail,
nail art,
nail designs,
nail polish,
nail porn,
nails,
neon,
polish,
weekly nail art challenge,
wnac
Friday, 12 June 2015
Neon Jelly Pond Mani
Hi everyone!
I've got a picture-heavy post for you all today!
Whilst browsing Instagram (my favourite pastime), I stumbled upon an indie brand called Kandy Colors, and was instantly drawn in by their neon jelly collection. I love jelly polishes/tints but unfortunately found that my OPI Sheer Tints are really difficult to use due to their formula, so I've been on the lookout for an upgrade. I headed over to the Kandy Colors site and was super pleased to find that you can buy the whole collection for under £20! You get six amazingly bright neon shades which are available in both jelly and creme formulas (choices, choices!)
Let's take a look at the polishes:
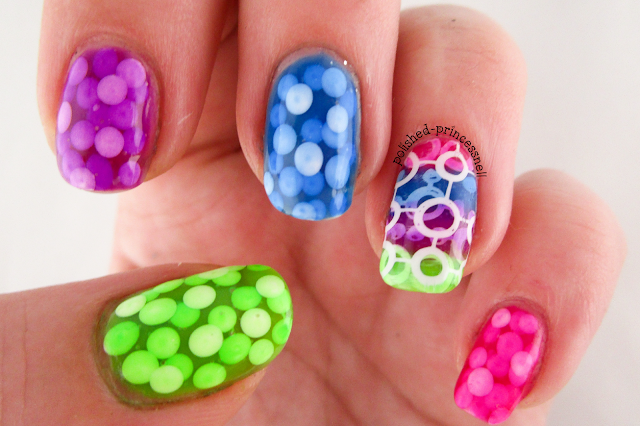
Obviously, I couldn't wait to try these beauties out, and instead of having to choose which colours to use I decided to use them all!
Here is my finished manicure (apologies in advance for the atrocity that is my Cinderella hand!):
I went for a picnic with my boyfriend last night and my nails were GLOWING in the sunlight, it is truly magical! My favourites from this collection are Carnival (green) and Hey Girl (pink). They are definitely some of the brightest neon shades I have seen around.
Hope you like it :) thanks for reading!
Helen x
Labels:
gradient,
Instagram,
jelly nails,
jelly polish,
layering,
mani,
manicure,
nail,
nail art,
nail designs,
nail polish,
nails,
neon,
pond mani,
sheer tints,
stamping,
summer
Location:
Bristol, City of Bristol, UK
Subscribe to:
Posts (Atom)
