Showing posts with label neon. Show all posts

Friday, 10 July 2015

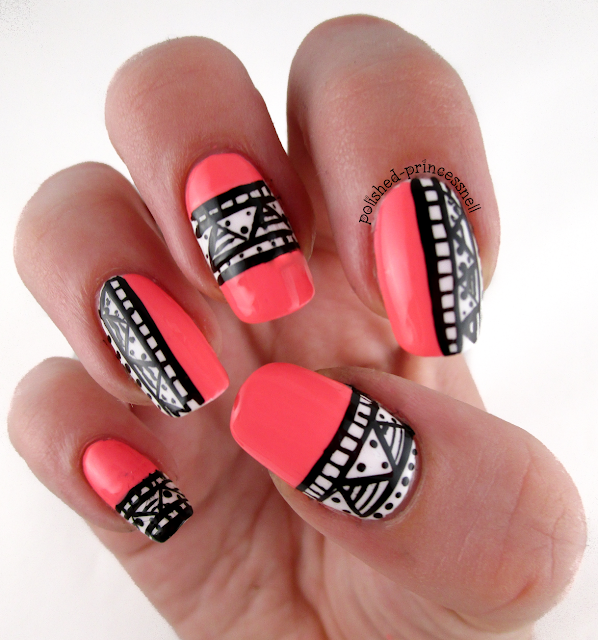
NEON WEEK: Aztec Nails

Hi everyone!

As part of my neon week, I wanted to incorporate an Aztec/tribal pattern into one of my designs. I recently picked up a Color Club Nail Striper in black, and thought this might be a good way to test it out.

neon-aztec-tribal-nail-art
Neon Tribal Nail Art

For this manicure I used a base of MoYou London 'White Knight', then divided the nails with Models Own 'Shades' from their Polish For Tans collection (I LOVE those polishes!). Finally, I added the detail using a teeny-tiny dotting tool and my Color Club striper.

neon-aztec-tribal-nail-art

neon-aztec-tribal-nail-art

neon-aztec-tribal-nail-art

Overall I'm pleased with how these turned out. I definitely need to practice my freehand linework with my striper, though!
neon-aztec-tribal-nail-art
I love the contrast between the pop of colour and the black and white design. 

Thanks for reading!

Helen x
Sunday, 5 July 2015

NEON WEEK: Dry Brush Technique

Hello!

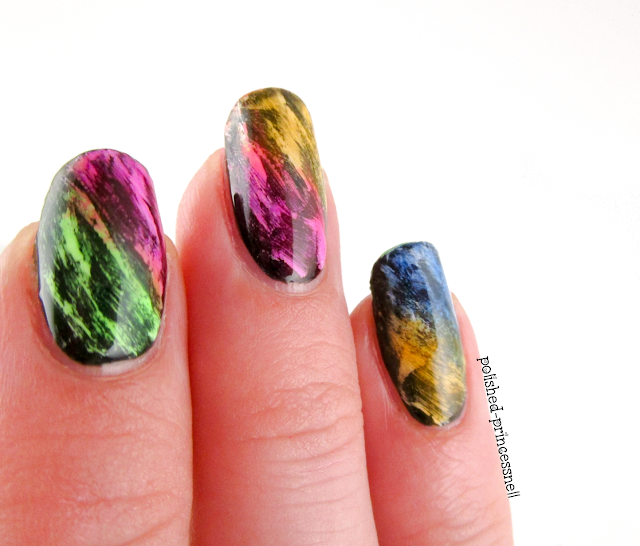
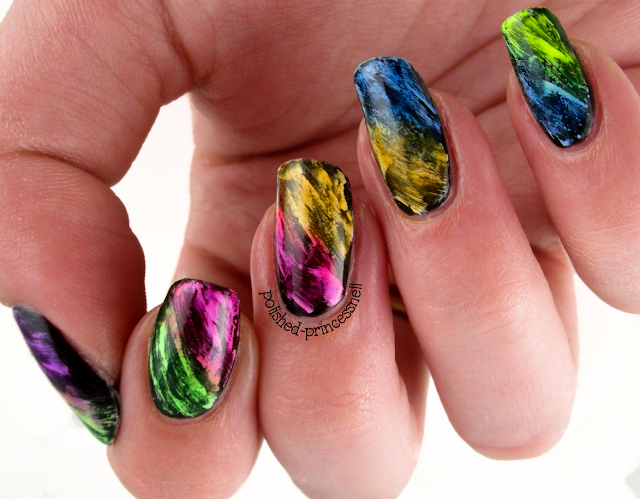
Today I have this week's entry into the Weekly Nail Art Challenge to show you, and of course I'm sticking with the neon theme for it. The prompt for the challenge this week is 'dry brush + gradient'. I have only tried dry bushing once before and it made my nails look like I'd dragged them through mud so I wasn't hopeful for this challenge, but I'm pleased with the results of this one!

neon-dry-brush-technique-nails-wnac
Dry brush using neon jellies
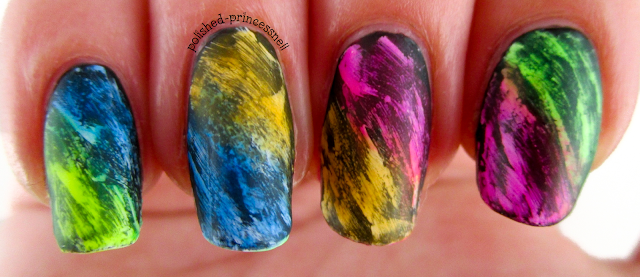
I started by painting my nails black using Rimmel 'Black Out', then once dry I dragged Color Club 'French Tip' white polish randomly over the black. The trick to this technique is to get rid of as much polish as you can from the brush before applying it to the nail. I found brushing it onto a piece of paper to remove the excess worked well. Finally, I took my favourite neon jelly polishes - the 'Northern Lights' collection from Kandy Colors and created a gradient over the nail by blending two colours together per nail. 

neon-dry-brush-technique-nails-wnac

neon-dry-brush-technique-nails-wnac
How beautiful are these jellies?!
neon-dry-brush-technique-nails-wnac
The finished look
I tried this out using Barry M Matte Topcoat too, but don't like the effect as much. Glossy is nearly always better in my opinion!

neon-dry-brush-technique-nails-wnac
Dry brush using neon jellies - matte
neon-dry-brush-technique-nails-wnac
The colours appear slightly brighter on the nail with a matte topcoat added
What do you guys think? Let me know in the comments!

Thanks for reading!

Helen x

As always, head over to Instagram to see all of the entries into the Weekly Nail Art Challenge - just search #wnac2015 :)

Saturday, 4 July 2015

NEON WEEK: Strawberry and Lime!

Hi everyone!

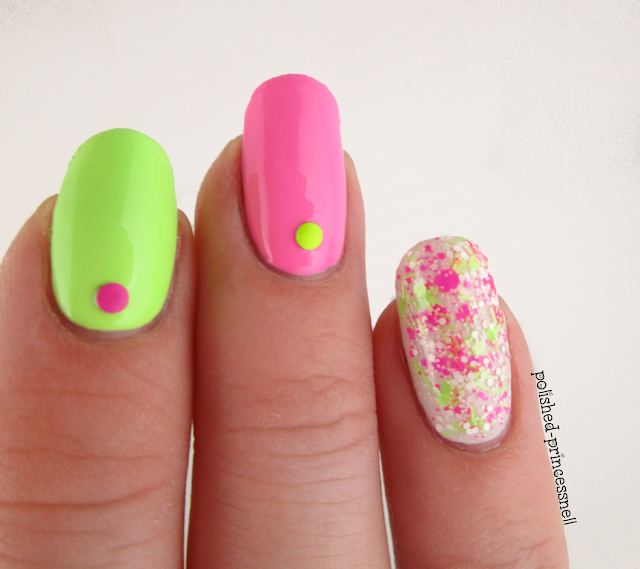
I've got a quick post today to show you the mani I have been wearing over the last couple of days. For once I have kept it nice and simple and opted for block colours (neon, of course!), and a complimenting accent nail:

neon-pink-and-green-nails
Simple pink and green :)

This colour combination is super summery and reminds me of strawberries and limes! :) 

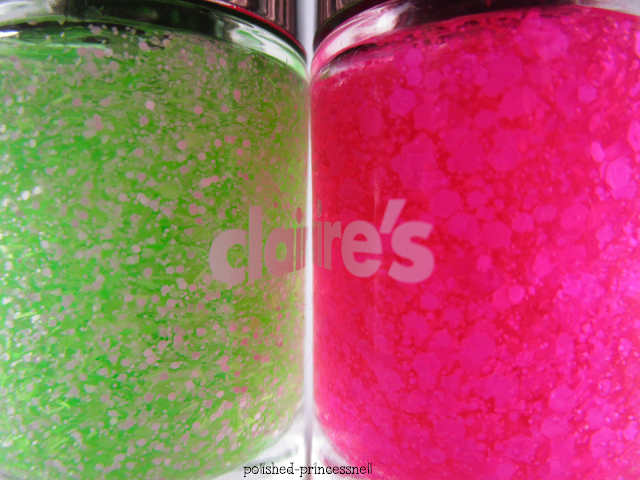
For this I used Models Own 'Sun Hat' and China Glaze 'Grass Is Lime Greener'. The accent nail is a base of OPI 'My Boyfriend Scales Walls' and a mix of two matte glitter toppers from Claire's: 'Junk' and 'Sea Green'. 

neon-pink-and-green-nails
L-R: Sea Green / Junk
neon-pink-and-green-nails

neon-pink-and-green-nails
Such pretty colours!

neon-pink-and-green-nails
I'd love a Twister ice lolly right now!

I hope you like these summery nails :)

Thanks for reading!

Helen x


Friday, 3 July 2015

NEON WEEK: Mani Swap

Hi guys!

Today I have a special post for you - I have collaborated with Nailpocolypse on Instagram to take part in a mani swap. I love doing mani swaps, there are so many talented people out there and it's really nice to try out other designs!

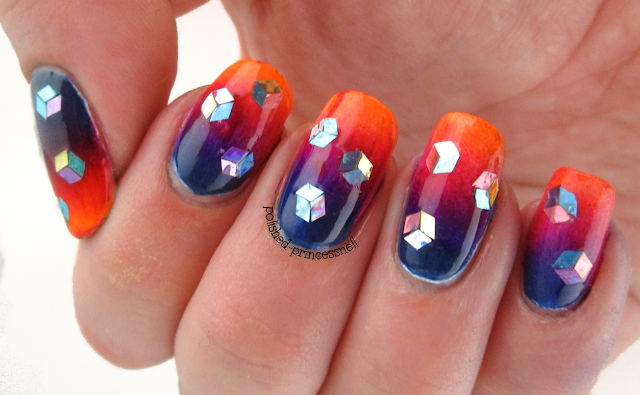
Ciara chose my pink and blue half moon nails, and I chose her gradient with glitter placement design. As this is NEON WEEK, I thought that this one fit in quite well :)

neon-gradient-glitter-placement
Mani Swap with Nailpocolypse!

For this manicure I used Barry M 'Blue Grape', Sinful Colors 'Dream On', and Nina 'Orange Flame' to make the gradient. I then placed glitter pieces from Nicole by OPI 'Be Awesome' to create the effect of little cubes! The neon-ness of this was way brighter in real life, especially the orange, but my camera just didn't want to capture it...

neon-gradient-glitter-placement

neon-gradient-glitter-placement

neon-gradient-glitter-placement

This mani was super difficult to clean up, and you can easily see the white basecoat that I used before sponging on the gradient. Oops!

neon-gradient-glitter-placement

Go check out Nailpocolypse on Instagram, she has some gorgeous designs!

Thanks for reading!

Helen x

Tuesday, 30 June 2015

NEON WEEK: Radial Gradient and Stamping

Hi!

I've been *loving* the weather here over the last few days and today we saw the temperature reach 30 degrees Celsius which is lovely! I'm so glad I have a neon theme going on at the moment because it's complimenting the sunshine wonderfully :)


neon-radial-gradient-stamping
 Stamped Neon Radial Gradient

Today's nails include a technique that I have only tried a couple of times - a radial gradient (where the gradient works outwards from the centre of the nail, rather than horizontally or vertically across the nail). I found it really difficult to get consistent gradients across all ten fingers, but I'm pretty happy with the results anyway. I added a pretty circular-style stamped image, and of course I had to stick some sparkly gems on there too!

The polishes used for this were all Models Own - 'Bikini' (yellow), 'Sun Hat' (pink) and 'Pukka Purple'. I used Pukka Purple and Bundle Monster stamping plate #BM-618 for the design. Oh, and a sprinkling of China Glaze 'Fairy Dust' was added to the gradient.

neon-radial-gradient-stamping
My left hand came out better than my right hand (even though I'm left handed...)

neon-radial-gradient-stamping
FYI my stamping is *meant* to be off-centre...

neon-radial-gradient-stamping
A bit blurry but look at the pretty Fairy Dust! <3

Hope you like them :)

Thanks for reading!

Helen x

Sunday, 28 June 2015

NEON WEEK: Leopard Print

Hi everyone!

Every now and then I am going to base my nail art on one particular theme for seven days. I'm hoping that this will allow me to practice my techniques, become more creative, and challenge my thinking. This week I have decided to start bright and choose neon!

neon-leopard-print-nail-art
Neon leopard print
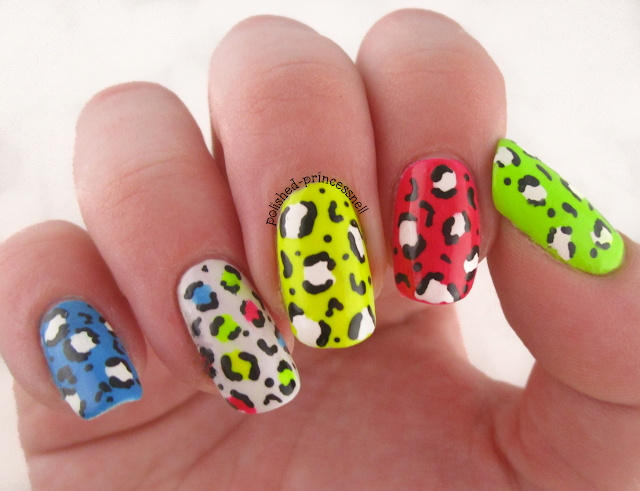
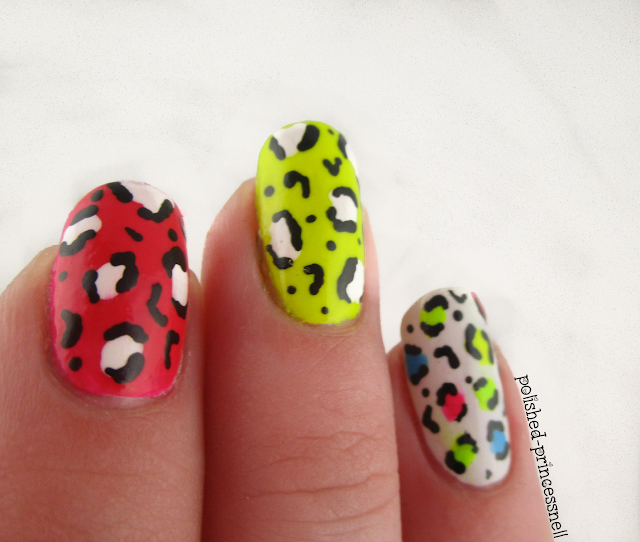
For my first mani, I went back to one of the first nail art patterns that I tried - leopard print. Leopard print is super easy to achieve and looks really cool in neon colours :)

neon-leopard-print-nail-art
L-R: Flip Flop / Bubblegum / Louis Lemon / Kensington Park Road 

For this design I used Models Own 'Louis Lemon' and 'Bubblegum' from the Iced Neon collection, 'Flip Flop' from the Polish For Tans collection, and Nails Inc. 'Kensington Park Road'. For the detail I used black and white acrylic paints and a toothpick.


neon-leopard-print-nail-art
Neon leopard print
neon-leopard-print-nail-art

neon-leopard-print-nail-art
Get your sunglasses out!
On my left hand I used the same colours but mixed them around a bit - I hate things being too uniform!

neon-leopard-print-nail-art
Say hi to Cindy :)
Thanks for reading!

Helen x

Friday, 12 June 2015

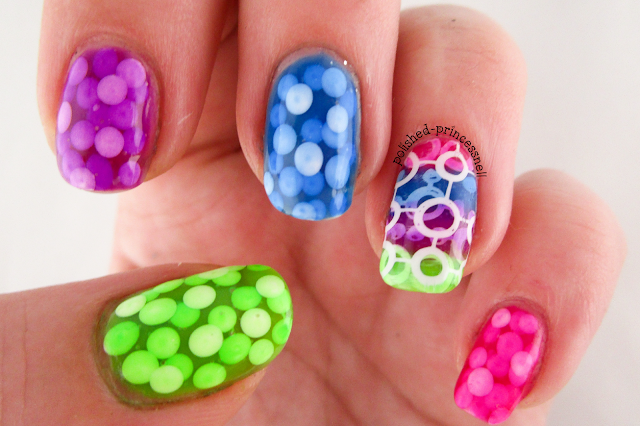
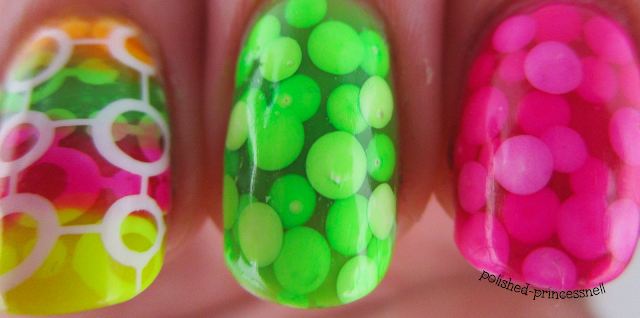
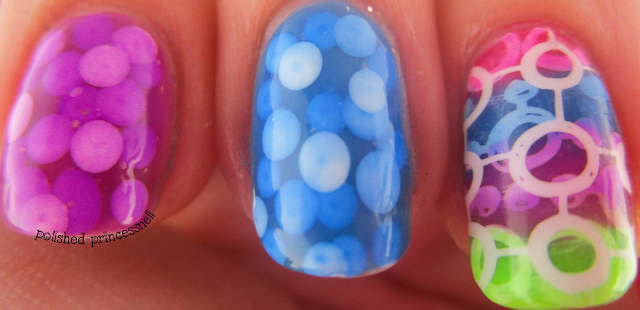
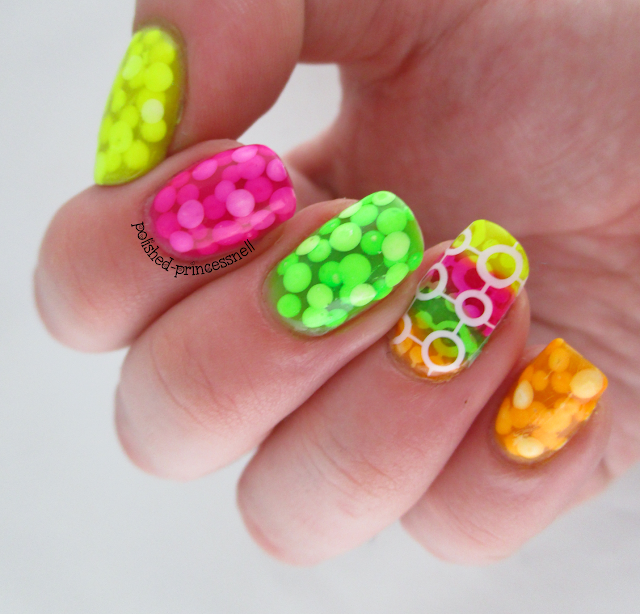
Neon Jelly Pond Mani


Hi everyone!

I've got a picture-heavy post for you all today!

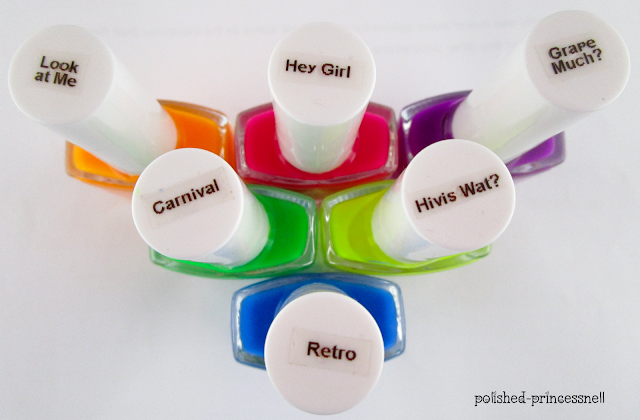
Whilst browsing Instagram (my favourite pastime), I stumbled upon an indie brand called Kandy Colors, and was instantly drawn in by their neon jelly collection. I love jelly polishes/tints but unfortunately found that my OPI Sheer Tints are really difficult to use due to their formula, so I've been on the lookout for an upgrade. I headed over to the Kandy Colors site and was super pleased to find that you can buy the whole collection for under £20! You get six amazingly bright neon shades which are available in both jelly and creme formulas (choices, choices!)

Let's take a look at the polishes:

kandycolors-neon-jelly-pond-manicure-nails


 Obviously, I couldn't wait to try these beauties out, and instead of having to choose which colours to use I decided to use them all!

Here is my finished manicure (apologies in advance for the atrocity that is my Cinderella hand!):

kandycolors-neon-jelly-pond-manicure-nails

kandycolors-neon-jelly-pond-manicure-nails


kandycolors-neon-jelly-pond-manicure-nails

kandycolors-neon-jelly-pond-manicure-nails

kandycolors-neon-jelly-pond-manicure-nails

I went for a picnic with my boyfriend last night and my nails were GLOWING in the sunlight, it is truly magical! My favourites from this collection are Carnival (green) and Hey Girl (pink). They are definitely some of the brightest neon shades I have seen around.

kandycolors-neon-jelly-pond-manicure-nails

Hope you like it :) thanks for reading!

Helen x