Showing posts with label silver. Show all posts

Monday, 20 July 2015

Pink and Grey Saran Wrap Nails

Hi!

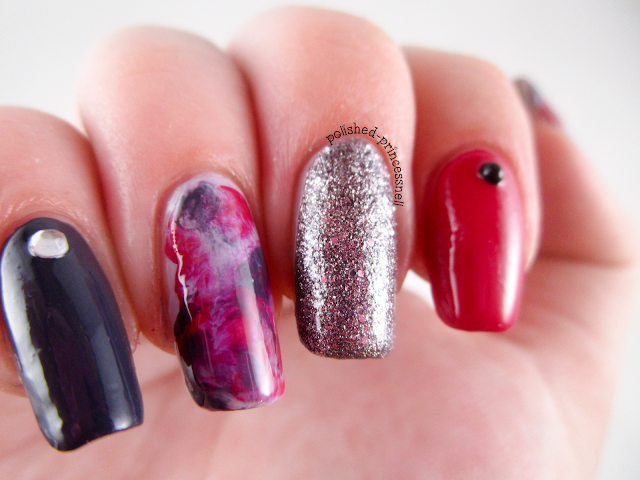
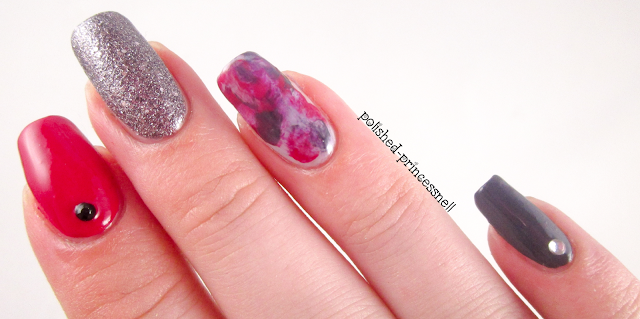
I have been playing around with one of my favourite nail art techniques today - dry marbling/saran wrap nails. The smoky marbled effect is so beautiful and is incredibly easy to do. The basic idea is to blob a few colours on your nails and then press a plastic food bag or cling film into the colours to blend them together. Magic!

dry-marble-saran-wrap-nails

For this manicure I used Rimmel 'Punk Rock' (grey) from their Salon Pro collection. I love the polishes in the Salon Pro range and they apply like a dream. I don't own enough of them in my opinion, although my boyfriend will most likely disagree! The pink is Maybelline 'Pink Punk', and the glitter is Maybelline 'Silver Touch'. I am also really impressed with these two polishes, especially Silver Touch. Finally, I used Sinful Colors 'Mauve' as a base for, and within, the saran wrap nails to lighten the manicure up a bit.


dry-marble-saran-wrap-nails
Maybelline 'Silver Touch' - I love the larger silver hexes in this polish!

I like that the glitter is slightly purple/lavender leaning as I think it brings the whole design together nicely :)


dry-marble-saran-wrap-nails

dry-marble-saran-wrap-nails

dry-marble-saran-wrap-nails

Thanks for reading!

Helen x

Tuesday, 23 June 2015

Rockstar Gel Nails!

Hey everyone!

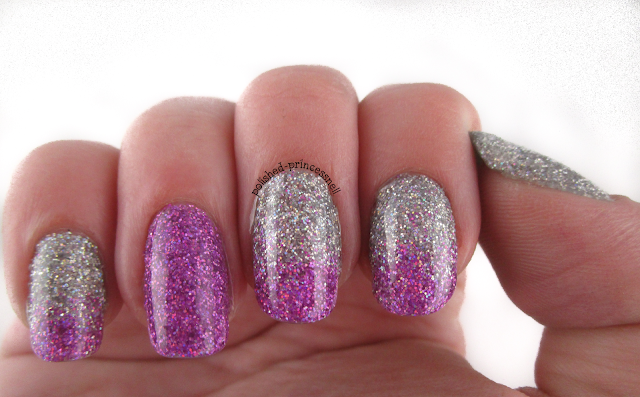
Today I want to share with you the sparkliest nails that my hands have ever adorned! 


gel-nails-rockstar-glitter-gradient
Rockstar Nails

This is a style nicknamed 'rockstar nails' and it is applied to a gel manicure.

The basic idea is:

  1. Clean and prep your nails for a gel manicure
  2. Apply a base coat and cure in an LED/UV lamp
  3. Apply a thin coat of gel polish and before curing sprinkle fine glitter onto the nail.
  4. Press lightly onto the nail to ensure the glitter adheres, then cure in your lamp.
  5. Apply topcoat and cure.

If you want to recreate this look, I recommend heading over to Chalkboard Nails for a great tutorial (the one that I followed), which has each step explained in much more detail than I gave above!


gel-nails-rockstar-glitter-gradient
Super glittery! 

gel-nails-rockstar-glitter-gradient
LOOK AT THE PRETTY!

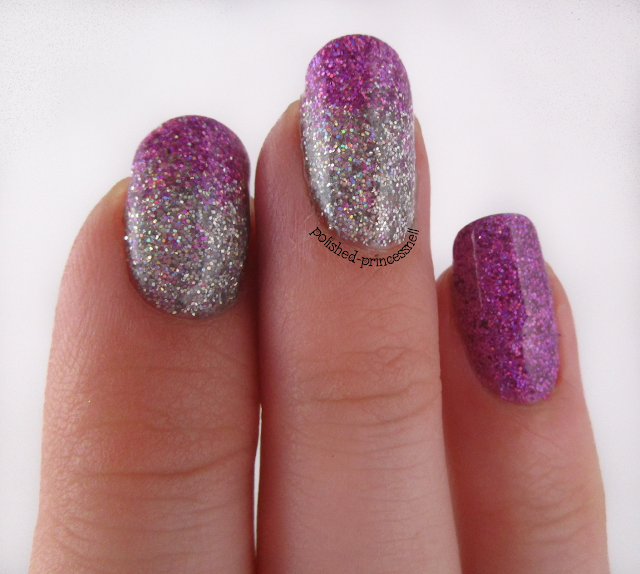
This is so easy to create and the effect is absolutely stunning. As this is a gel manicure my nails are super glossy and the glitter really shines through, almost magnified by the topcoat.


gel-nails-rockstar-glitter-gradient
Obligatory macro shot :)

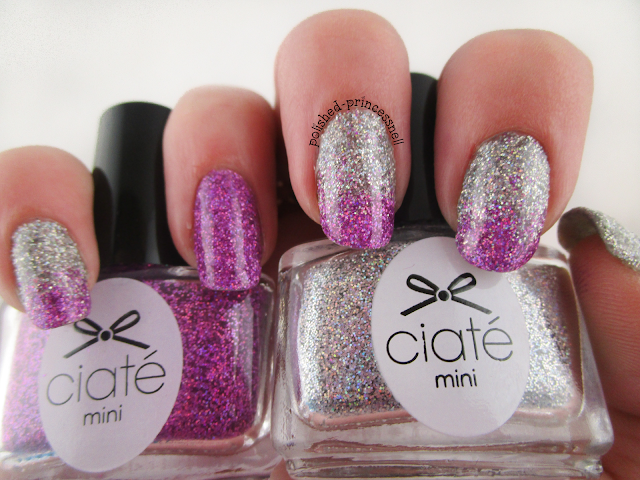
I used two Ciate glitters that I got in my Ciate Mini Manor Advent Calendar last year - a fantastic holographic silver ('Let It Snow') and holographic pink ('Prima Ballerina'). I have been waiting for the perfect opportunity to use these and I think I found it!


gel-nails-rockstar-glitter-gradient
My camera could only just pick up the holo goodness in these bottles


gel-nails-rockstar-glitter-gradient
Ciate Fine Holographic Glitter - Prima Ballerina and Let It Snow

gel-nails-rockstar-glitter-gradient
Can you see the holo shift?! 

I am starting to fall in love with gel manicures - there are so many possibilities using cured polish, and the prettiness lasts for ages too!

Thanks for reading!

Helen x